We will use LangChain within Quarkus to connect to some GPTs. Quarkus uses the LangChain4j library.
Quarkus LangChain Extensions
What extensions Quarkus provides?
./mvnw quarkus:list-extensions | grep langchain
[INFO]   quarkus-langchain4j-azure-openai                   LangChain4j Azure OpenAI
[INFO]   quarkus-langchain4j-chroma                         LangChain4j Chroma
[INFO]   quarkus-langchain4j-core                           LangChain4j
[INFO]   quarkus-langchain4j-easy-rag                       LangChain4j Easy RAG
[INFO]   quarkus-langchain4j-hugging-face                   LangChain4j Hugging Face
[INFO]   quarkus-langchain4j-milvus                         LangChain4j Milvus embedding store
[INFO]   quarkus-langchain4j-mistral-ai                     LangChain4j Mistral AI
[INFO]   quarkus-langchain4j-ollama                         LangChain4j Ollama
[INFO]   quarkus-langchain4j-openai                         LangChain4j OpenAI
[INFO]   quarkus-langchain4j-pgvector                       Quarkus LangChain4j pgvector embedding store
[INFO]   quarkus-langchain4j-pinecone                       LangChain4j Pinecone embedding store
[INFO]   quarkus-langchain4j-redis                          LangChain4j Redis embedding store
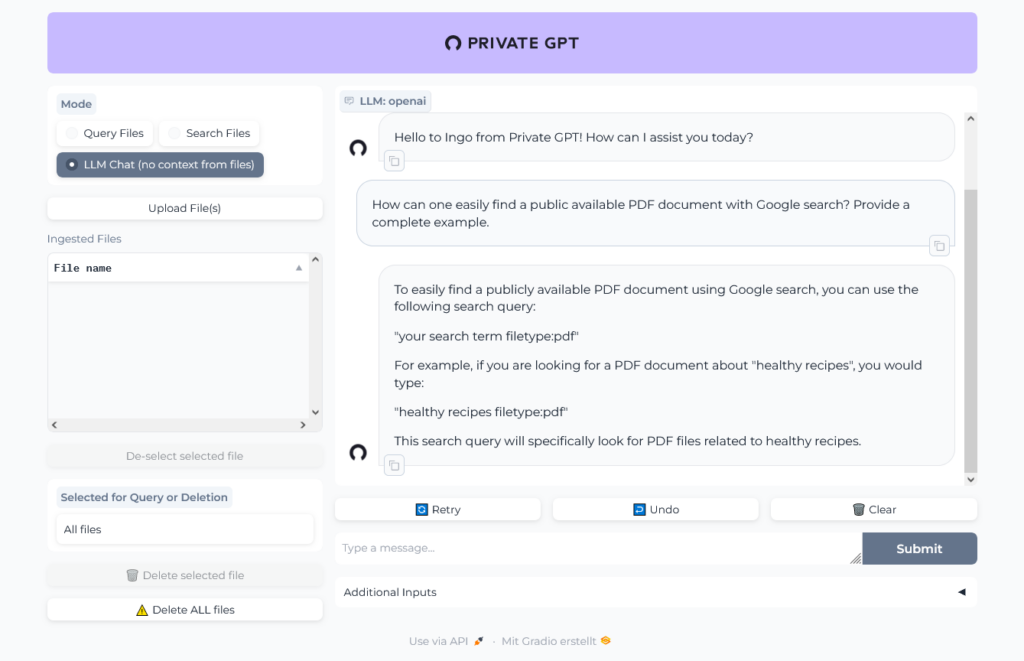
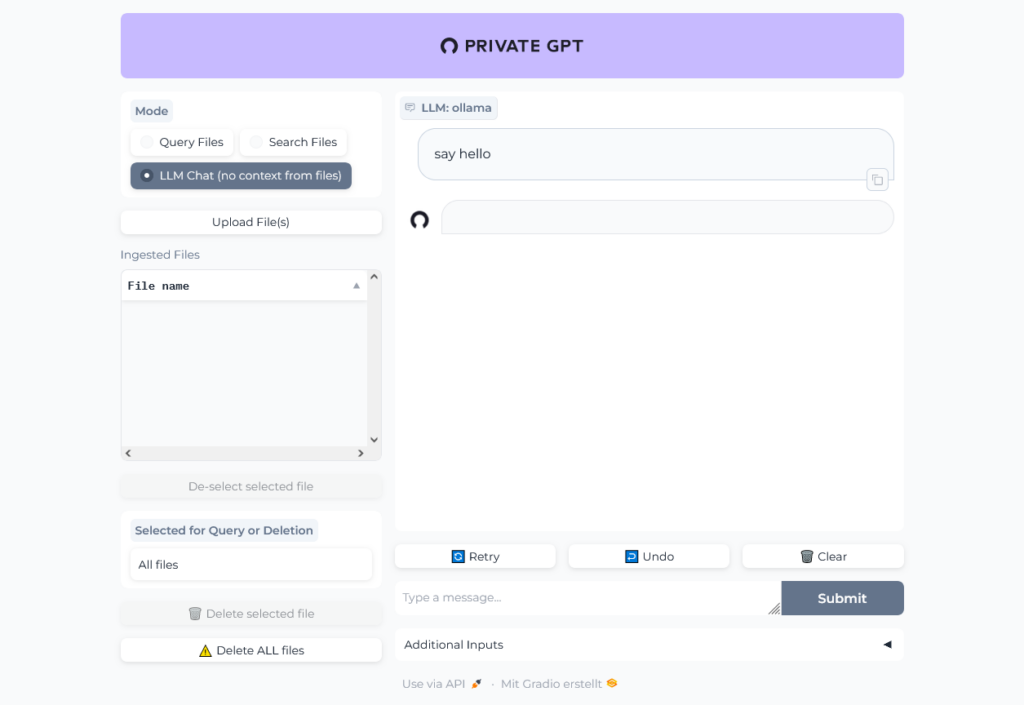
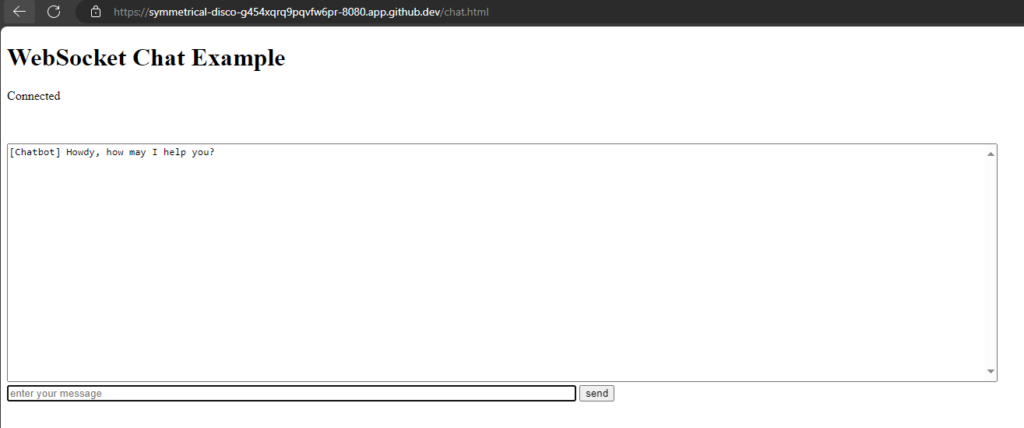
Chat window
We will reuse our chat window from the last post,
src/main/resources/META-INF/resources/chat.html:
<!DOCTYPE html>
<html lang="en">
<head>
<meta charset="UTF-8">
<meta name="viewport" content="width=device-width, initial-scale=1.0">
<title>WebSocket Chat Example</title>
<style>
#chat {
resize: none;
overflow: hidden;
min-width: 70%;
min-height: 300px;
max-height: 300px;
overflow-y: scroll;
}
#msg {
min-width: 40%;
}
</style>
</head>
<body>
<h1>WebSocket Chat Example</h1>
<p id="message">Connecting...</p>
<br/>
<div class="container">
<br/>
<div class="row">
<textarea id="chat"></textarea>
</div>
<div class="row">
<input id="msg" type="text" placeholder="enter your message">
<button id="send" type="button" disabled>send</button>
</div>
</div>
<script src="https://cdnjs.cloudflare.com/ajax/libs/jquery/3.7.1/jquery.min.js"></script>
<script>
var connected = false;
var socket;
$( document ).ready(function() {
connect();
$("#send").click(sendMessage);
$("#name").keypress(function(event){
if(event.keyCode == 13 || event.which == 13) {
connect();
}
});
$("#msg").keypress(function(event) {
if(event.keyCode == 13 || event.which == 13) {
sendMessage();
}
});
$("#chat").change(function() {
scrollToBottom();
});
$("#name").focus();
});
var connect = function() {
if (! connected) {
socket = new WebSocket('wss://' + location.host + '/chatsocket');
socket.onopen = function(m) {
connected = true;
console.log("Connected to the web socket");
$("#send").attr("disabled", false);
$("#connect").attr("disabled", true);
$("#name").attr("disabled", true);
$("#chat").append("[Chatbot] Howdy, how may I help you? \n");
$("#msg").focus();
$("#message").text('Connected');
};
socket.onmessage = function(m) {
console.log("Got message: " + m.data);
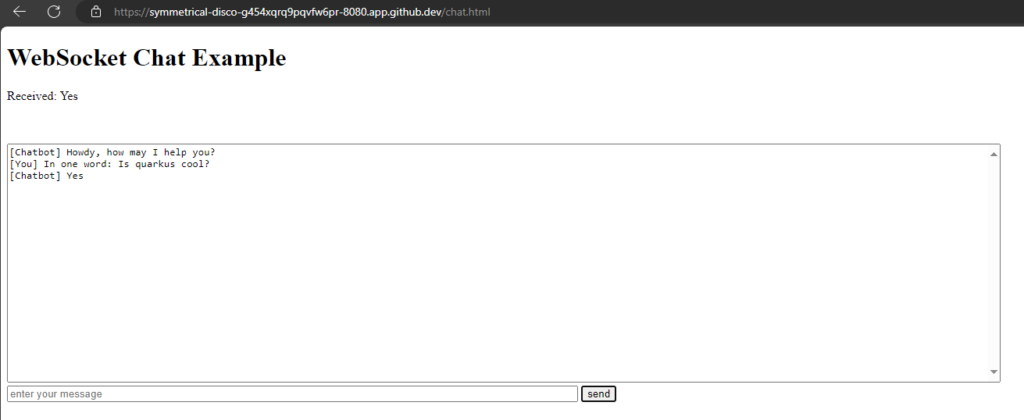
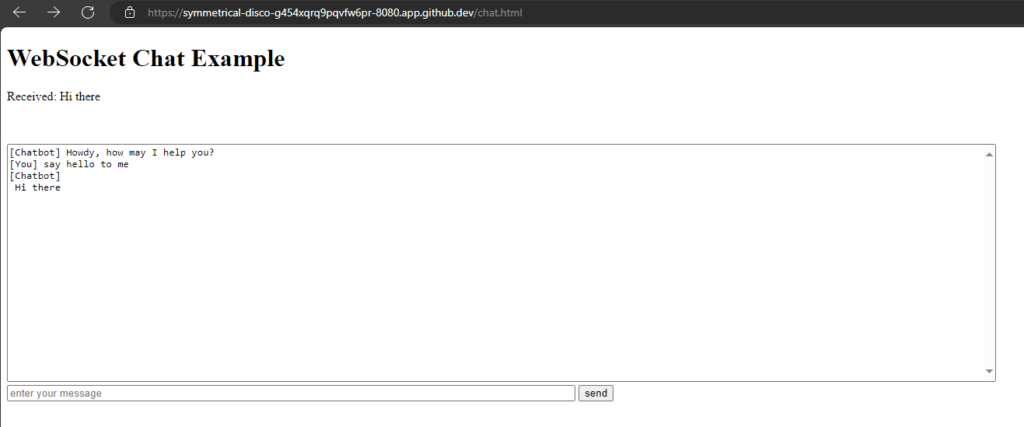
$("#message").text('Received: ' + m.data);
$("#chat").append("[Chatbot] " + m.data + "\n");
scrollToBottom();
};
socket.onclose = function(event) {
console.log("Disconnected");
$("#message").text('Disconnected');
$("#chat").append("[Chatbot] Disconnected" + "\n");
scrollToBottom();
};
socket.onerror = function(error) {
console.log("Error: " + error.message);
$("#message").text('Error: ' + error.message);
$("#chat").append("[Chatbot] Error: " + error.message + "\n");
scrollToBottom();
};
}
};
var sendMessage = function() {
if (connected) {
var value = $("#msg").val();
console.log("Sending " + value);
$("#chat").append("[You] " + value + "\n")
socket.send(value);
$("#msg").val("");
}
};
var scrollToBottom = function () {
$('#chat').scrollTop($('#chat')[0].scrollHeight);
};
</script>
</body>
</html>package org.acme;
import io.quarkus.websockets.next.OnTextMessage;
import io.quarkus.websockets.next.WebSocket;
import jakarta.inject.Inject;
@WebSocket(path = "/chatsocket")
public class ChatSocket {
@Inject
ChatService chatService;
@OnTextMessage
public String onMessage(String userMessage){
return chatService.chat(userMessage);
}
}package org.acme;
import io.quarkus.runtime.StartupEvent;
import jakarta.enterprise.context.ApplicationScoped;
import jakarta.enterprise.event.Observes;
@ApplicationScoped
public class ChatService {
protected void startup(@Observes StartupEvent event) {
System.out.println("Startuuuuuuuuuup event");
}
public String chat(String message) {
return message + " you said.";
}
}
ChatGPT
Extension
./mvnw quarkus:add-extension -Dextensions='quarkus-langchain4j-openai'
Configuration
quarkus.langchain4j.openai.api-key=<OPEN_API_KEY>
quarkus.langchain4j.openai.chat-model.model-name=gpt-3.5-turbo
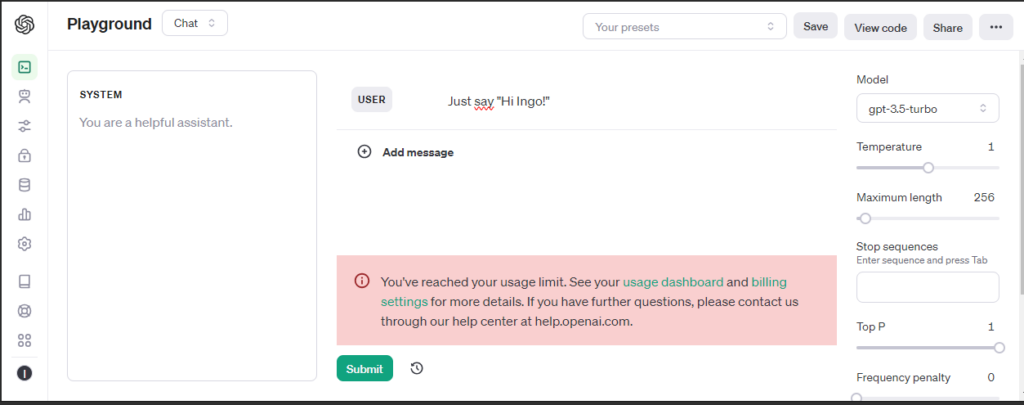
API-Key: You can get an API key from OpenAI. But you need at least to pay 5$, what I did. Alternativley you can use demo as API key for limited testing.
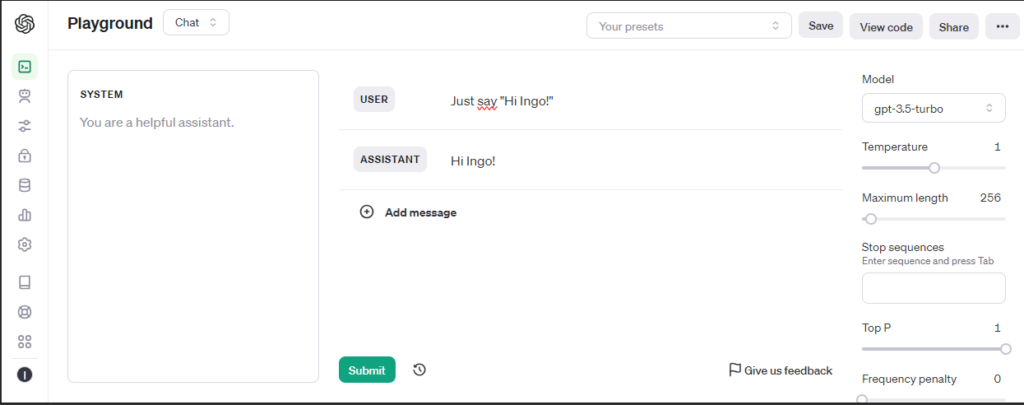
Model-Name: Here are the OpenAI Models. gpt-3.5-turbo is default.
Hint: It is not working, if there is a " "(space/blank) after the model-name.
I had stored my OpenAI-API-key as GitHub secret, so the key is available as environment variable in my Codespace. Therefore I changed the configuration:
quarkus.langchain4j.openai.api-key=${OPEN_API_KEY:demo}
quarkus.langchain4j.openai.chat-model.model-name=gpt-4o
Code
package org.acme;

import io.quarkiverse.langchain4j.RegisterAiService;

@RegisterAiService
public interface Assistant {
    String chat(String message);
}
Use this Assistant instead of the ChatService:
package org.acme;

import io.quarkus.websockets.next.OnTextMessage;
import io.quarkus.websockets.next.WebSocket;
import jakarta.inject.Inject;

@WebSocket(path = "/chatsocket")
public class ChatSocket {
    @Inject
    Assistant assistant;

    @OnTextMessage
    public String onMessage(String userMessage){
        return assistant.chat(userMessage);
    }
}
Hugging Face
Extension
./mvnw quarkus:add-extension -Dextensions='quarkus-langchain4j-hugging-face'
Configuration
quarkus.langchain4j.chat-model.provider=huggingface

quarkus.langchain4j.huggingface.api-key=${HUGGINGFACE_API_KEY:nokey}
quarkus.langchain4j.huggingface.chat-model.model-id=KingNish/OpenGPT-4o
Provider: Now we have two models configured, we need to specify which provider to use (huggingface)
API-Key: Get free API-Key from Hugging Face:
Login -> Settings -> Access Tokens -> Generate (Type: 'Read')
Model: Search on the Hugging Face website, I randomly took KingNish/OpenGPT-4o
Code
No code change needed, it works with the same code as for ChatGPT.
Everything is changed by configuration.

Antrophic Claude
Extension
./mvnw quarkus:add-extension -Dextensions='quarkus-langchain4j-anthropic'

[ERROR] ❗  Nothing installed because keyword(s) 'quarkus-langchain4j-anthropic' were not matched in the catalog.
It did not work with the maven executable. Need to add dependency manually to pom.xml, see documentation:
<dependency>
    <groupId>io.quarkiverse.langchain4j</groupId>
    <artifactId>quarkus-langchain4j-anthropic</artifactId>
    <version>0.15.1</version>
</dependency>
Configuration
quarkus.langchain4j.chat-model.provider=anthropic

quarkus.langchain4j.anthropic.api-key=${ANTHROPIC_API_KEY:no key}
quarkus.langchain4j.anthropic.chat-model.model-name=claude-3-haiku-20240307
API-Key: Login to Antropic Console and get an API key for free.
Model: Select one from documentation.
Code
No code change needed, it works with the same code as for ChatGPT.
But did not work:
org.jboss.resteasy.reactive.ClientWebApplicationException: Received: 'Bad Request, status code 400' when invoking: Rest Client method: 'io.quarkiverse.langchain4j.anthropic.AnthropicRestApi#createMessage'
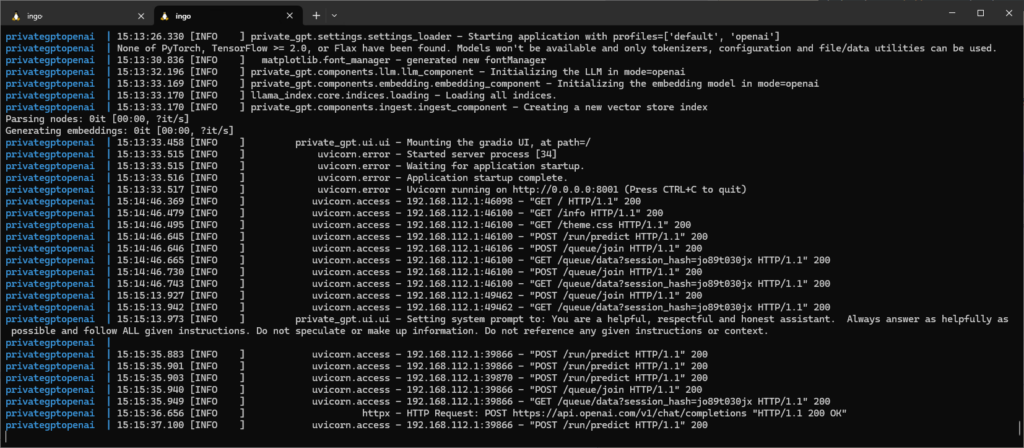
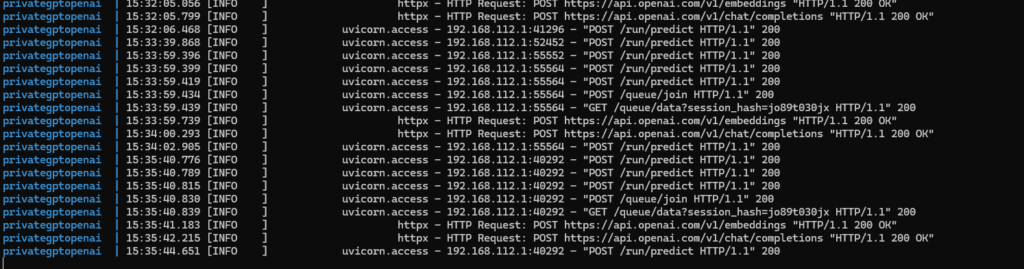
Quarkus terminal logging
Without API-key I got a status code 401.
Ollama
Prerequisites
Ollama has to be installed. See this post or Ollama Homepage.
curl -fsSL https://ollama.com/install.sh | sh
export OLLAMA_HOST=0.0.0.0:11434
ollama serve
ollama pull moondream

ollama --version
ollama version is 0.1.41
Extension
./mvnw quarkus:add-extension -Dextensions='quarkus-langchain4j-ollama'
Configuration
quarkus.langchain4j.chat-model.provider=ollama

quarkus.langchain4j.ollama.chat-model.model-id=moondream
quarkus.langchain4j.ollama.timeout=120s
Model: I choose moondream, because it is the smallest one (829MB).
Models can be found on the GitHub page or on Ollama library.
However, Quarkus is ignoring my resourcefriendly choice, as I can see in the Logs: "Preloading model llama3" 🤷♂️
UPDATE: For Ollama it is model-id, not model-name!
Code
Also no change.
Mistral
Extension
./mvnw quarkus:add-extension -Dextensions='quarkus-langchain4j-mistral'
Configuration
quarkus.langchain4j.chat-model.provider=mistralai

quarkus.langchain4j.mistralai.api-key=${MISTRALAI_API_KEY:no key}
quarkus.langchain4j.mistralai.chat-model.model-name=mistral-tiny
API-key: You can generate an API-key in Mistral AI Console. But you are required to have a Abonnement, which I do not have. Therefore nor API-key for me.
Model: mistral-tiny is default one
Code
Also no change.
But could not test, because I do not have an API-key.
Groq
I like Groq but unfortunately there is no LangChain4j support yet.
The Python LangChain project has already implemented Groq.