For my last post about PrivateGPT I need to install Ollama on my machine.
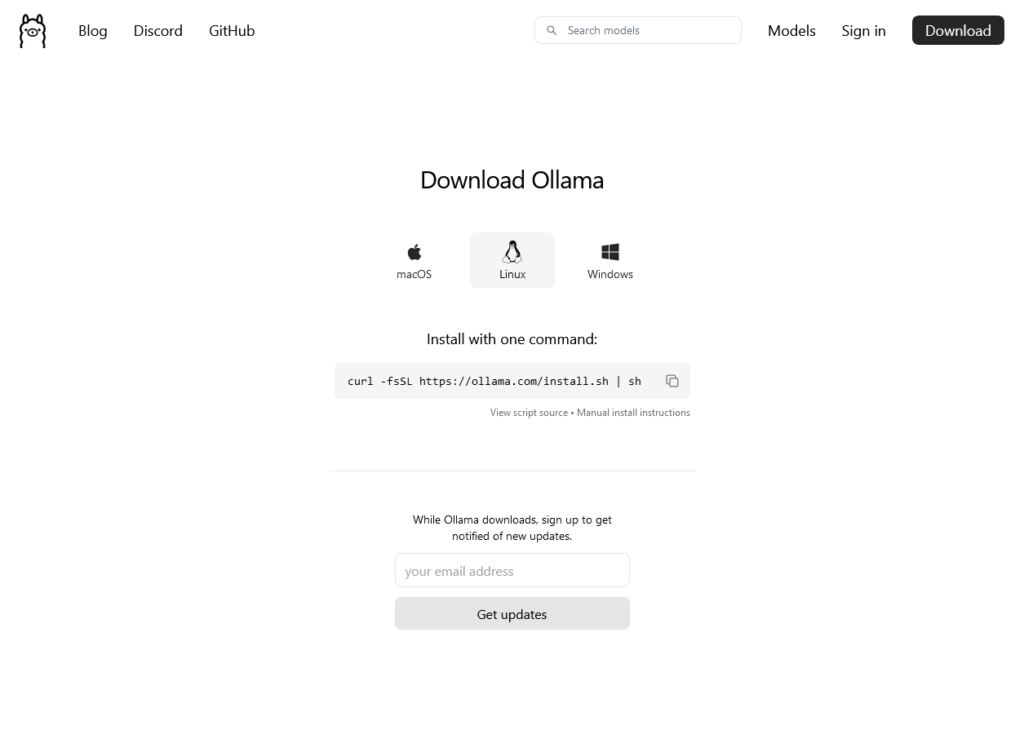
The Ollama page itself is very simple and so is the instruction to install in Linux (WSL):
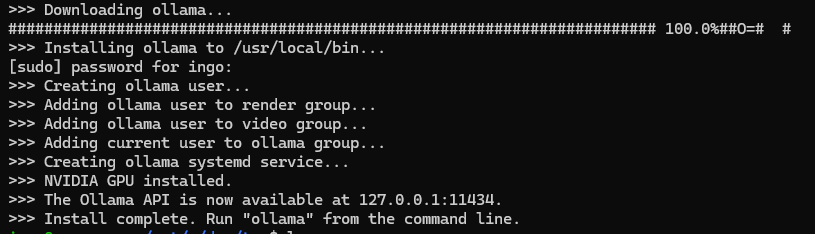
curl -fsSL https://ollama.com/install.sh | sh
ollama serve

Couldn't find '/home/ingo/.ollama/id_ed25519'. Generating new private key.
Your new public key is:

ssh-ed25519 AAAAC3NzaC1lZDI1NTE5AAAAIGgHcpiQqs4qOUu1f2tyjs9hfiseDnPfujpFj9nV3RVt
Ollama is bound to localhost:11434. So Ollama is only available from localhost or 127.0.0.1, but not from other IPs, like from inside a docker container.
To start with an easier example, I will use PrivateGPT with OpenAI/ChatGPT as AI. Of course therefore the chat will not be private, what is the main reason to use PrivateGPT, but it is a good start to bring things up and running and in a next step add a local AI.
OpenAI API key
To use ChatGPT we need an OpenAI API key. The key itself is free, but I needed to charge my account with 5$ to get it working.
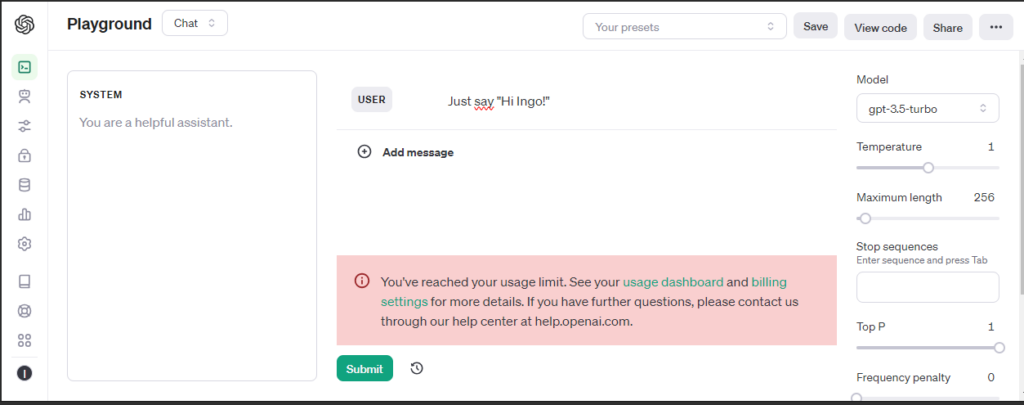
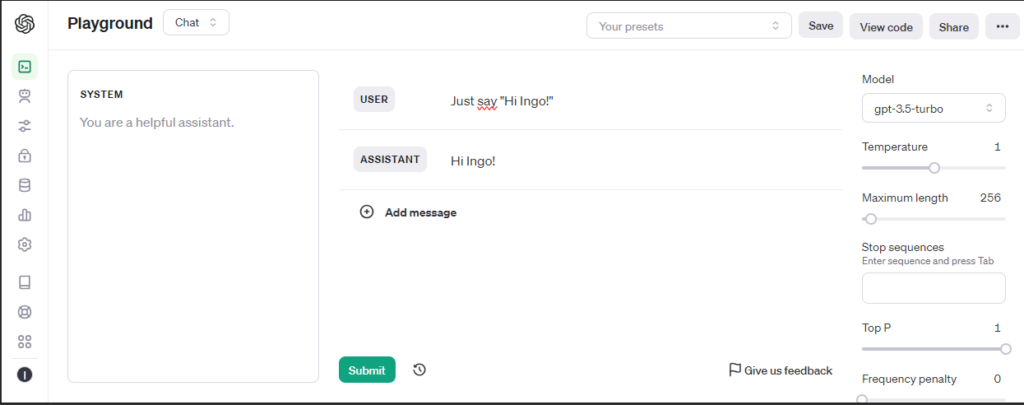
For testing a Playground is available.
Before funding my account:
After funding my account with the minimum of 5$:
Docker
The OpenAI API key is stored in a file .env, that provides its content to docker compose as environment variables.
In docker-compose we set the API key and profile: openai as environment for our Docker container:
In Docker image we configure installation for openai:
RUN poetry install --extras "ui llms-openai vector-stores-qdrant embeddings-openai"
PrivateGPT will download Language Model files during its setup, so we provide a mounted volume for this model files and execute the setup at the start of the container and not at image build:
volumes:
	- ../models/cache:/app/privateGPT/models/cache
command: /bin/bash -c "poetry run python scripts/setup && make run"
Here are the complete files, you can also find them on my GitHub:
# Use the specified Python base image
FROM python:3.11-slim

# Set the working directory in the container
WORKDIR /app

# Install necessary packages
RUN apt-get update && apt-get install -y \
    git \
    build-essential

# Clone the private repository
RUN git clone https://github.com/imartinez/privateGPT

WORKDIR /app/privateGPT

# Install poetry
RUN pip install poetry

# Lock and install dependencies using poetry
RUN poetry lock
RUN poetry install --extras "ui llms-openai vector-stores-qdrant embeddings-openai"
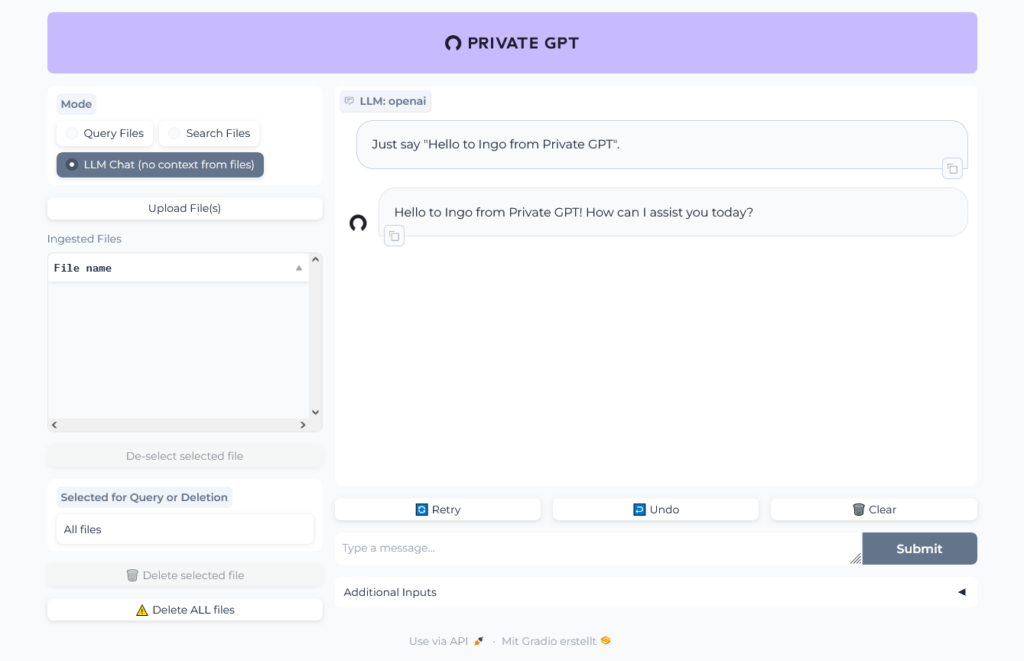
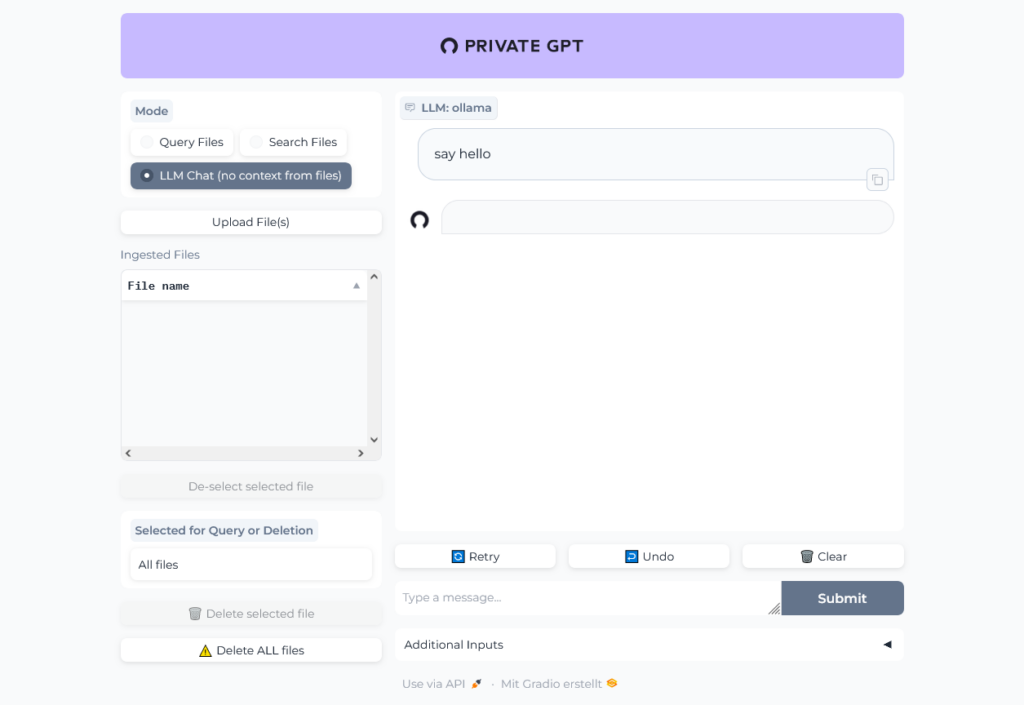
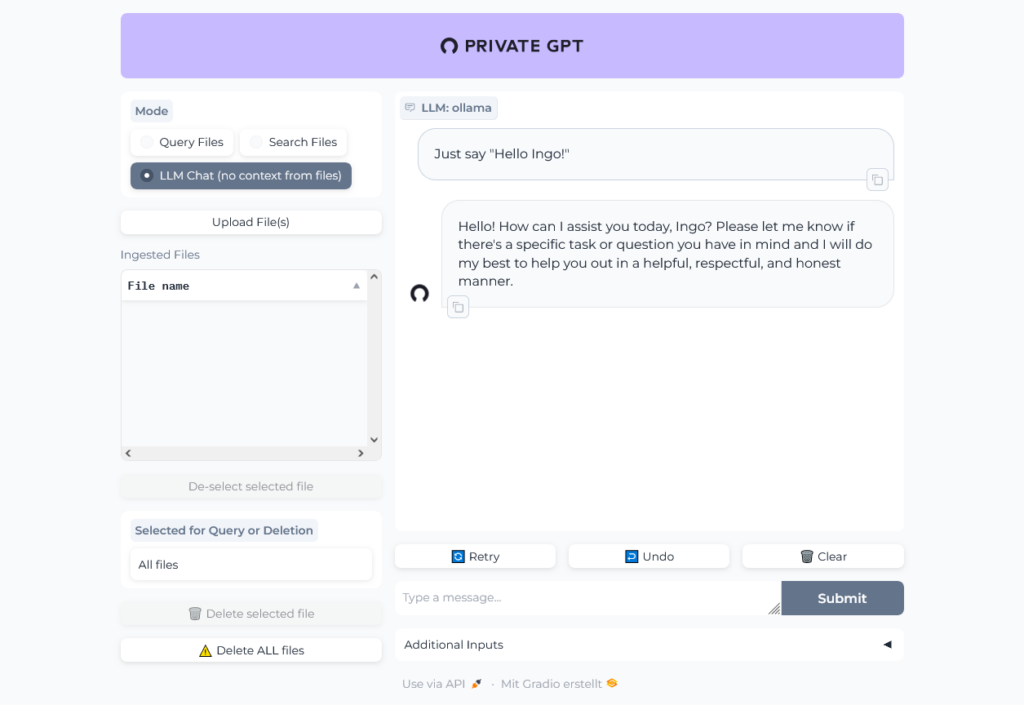
Open http://localhost:8001 in your browser to open Private GPT and run a simple test:
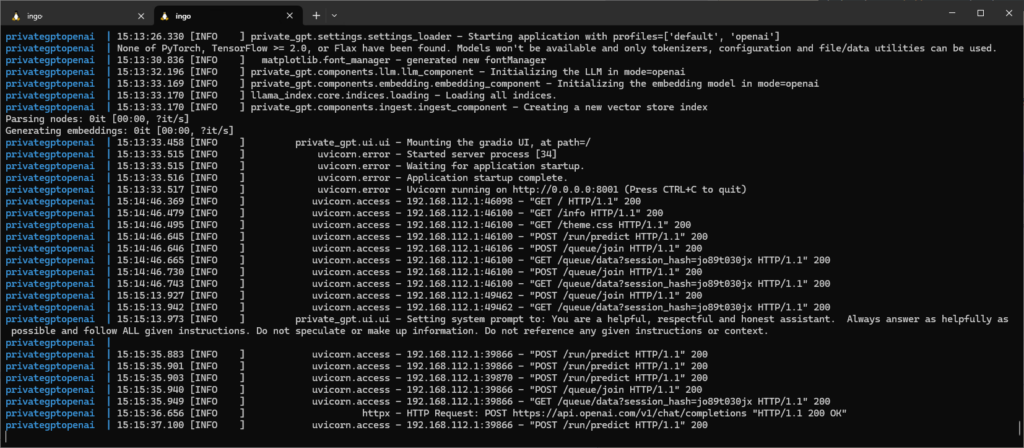
Have a look at the logs to see that there is communication with OpenAI servers:
Chat with document
To "chat" with a document we first need a public available one, because right now we are using ChatGPT where we must not upload internal project documents.
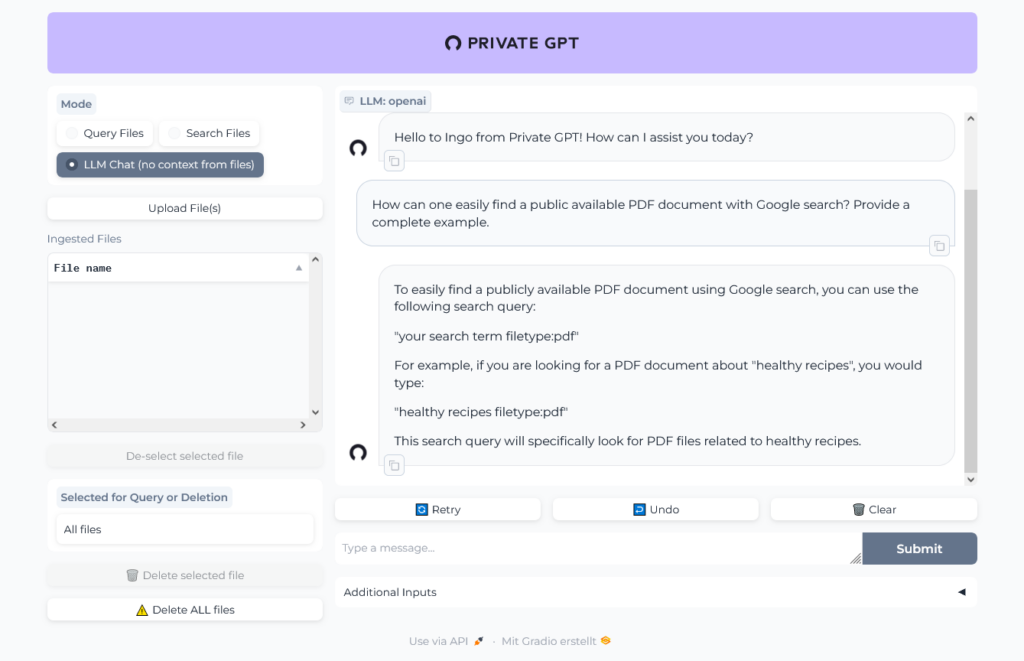
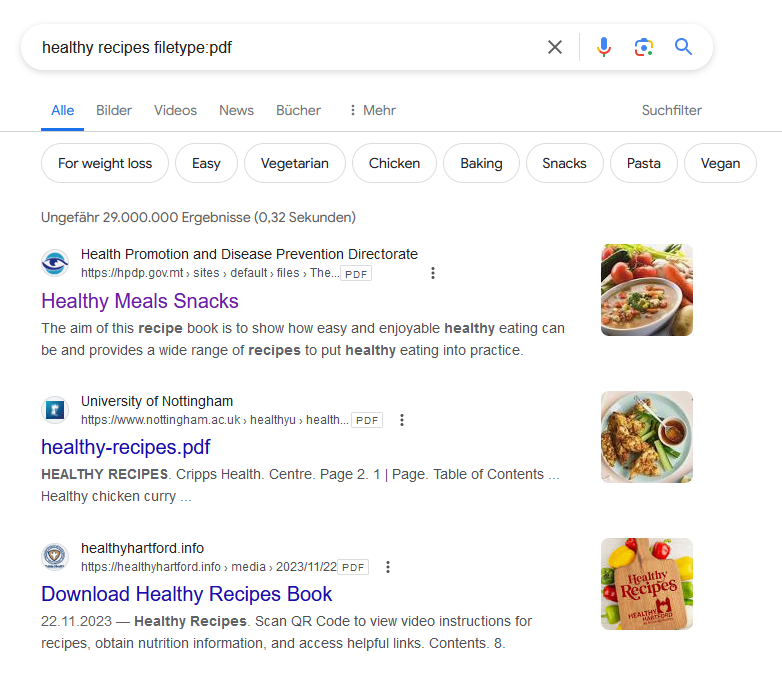
So first ask PrivateGPT/ChatGPT to help us to find a document:
Working fine, we could easily find and download a PDF:
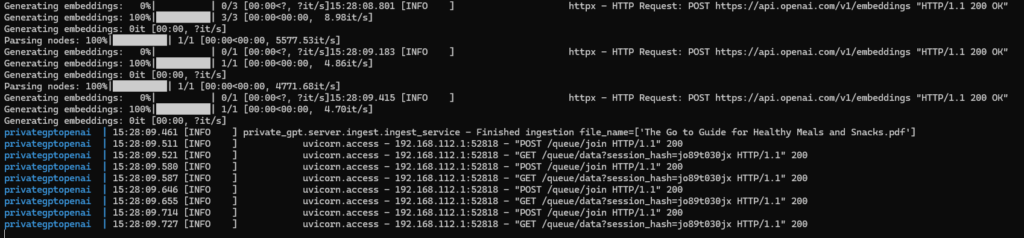
The upload of the PDF (The Go to Guide for Healthy Meals and Snacks.pdf) with 160 pages in 24 MB into PrivateGPT took nearly two minutes. In the logs we can see, that the file was uploaded to ChatGPT:
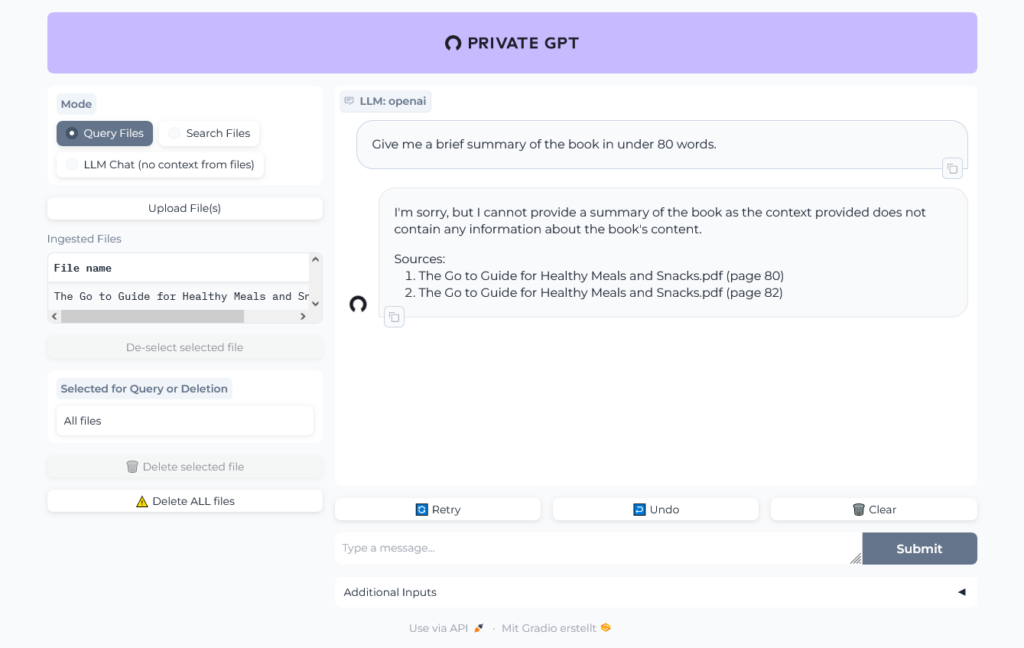
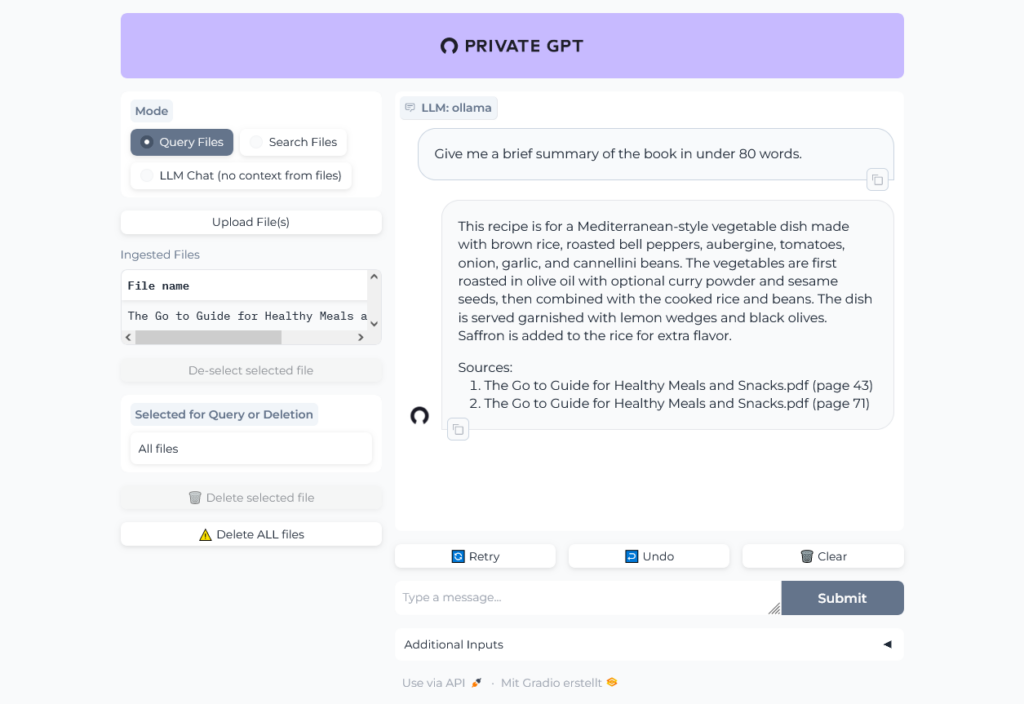
Let's chat with the book:
Uh, was that question too hard? Give it another try:
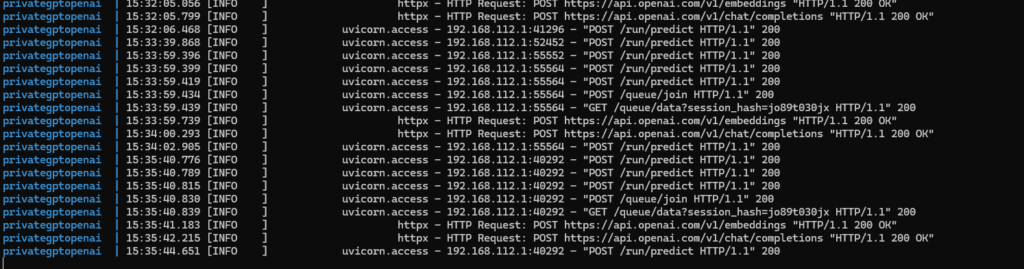
OK, sounds better. In the logs we can see the traffic to OpenAI:
Local, Ollama-powered setup
Now we want to go private, baby.
Copy configuration to a new folder, can be found in GitHub.
In docker-compose we change the profile to ollama:
    environment:
      - PGPT_PROFILES=ollama
In Docker image we configure installation for ollama:
RUN poetry install --extras "ui llms-ollama embeddings-ollama vector-stores-qdrant"
As before we can build the image, start the container and watch the logs:
I did not use the large ~24MB file I tried with ChatGPT, but a much smaller one ~297 KB I randomly found in the internet. It is written in german, but it seems, like Ollama understands german.
Well, then I tried the 24 MB file and ... it worked pretty well, the result of the first question was even better than the result from ChatGPT!
There are many ways to work with data, here is a quick walkthrough how to transfer data from an Excel file into a database.
Excel-File -> CSV-File -> DBeaver -> PostgreSQL
Excel file
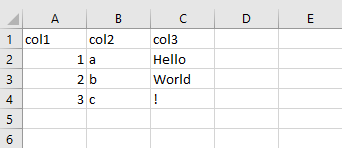
We have a simple Excel file:
with a simple sample data structure:
Excel file conversion
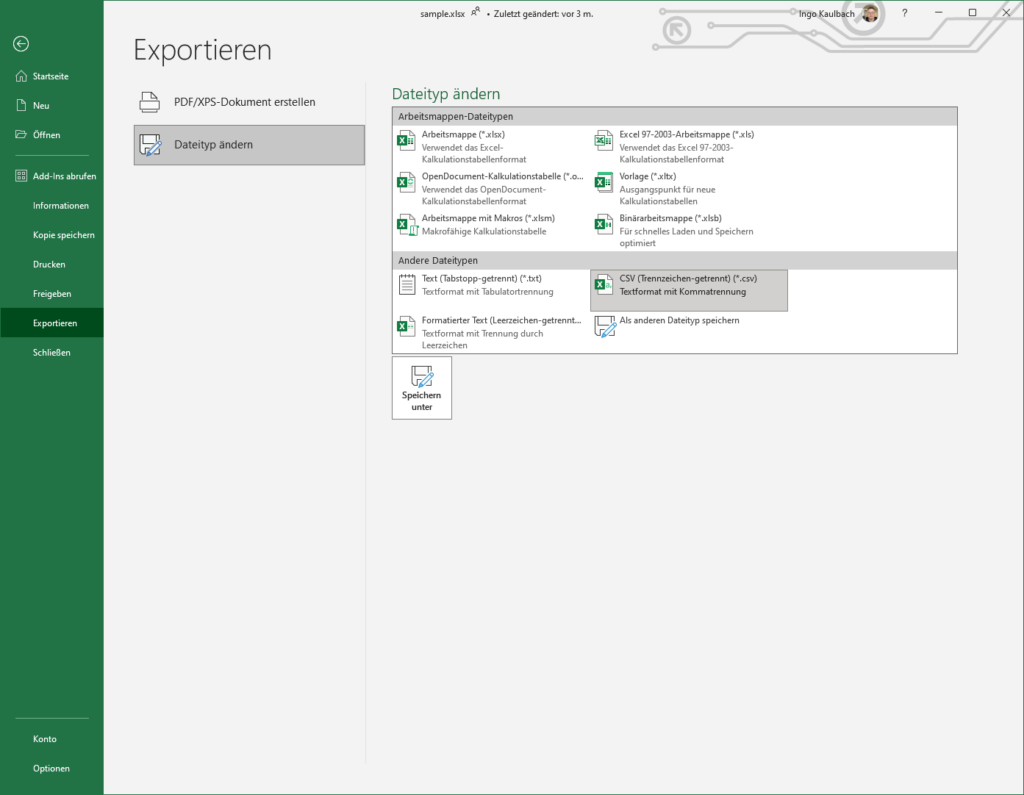
We need to convert the Excel file into a .csv (Comma Seperated Values) file.
Just open the file -> Datei -> Exportieren > Dateityp ändern -> CSV and save as sample.csv
Import from CSV
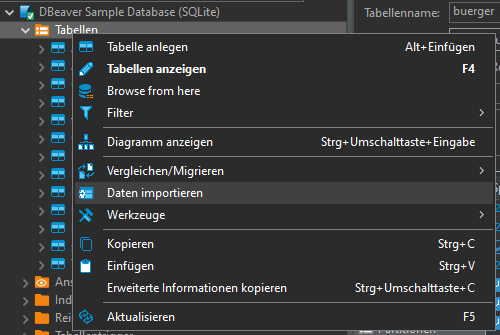
In DBeaver:
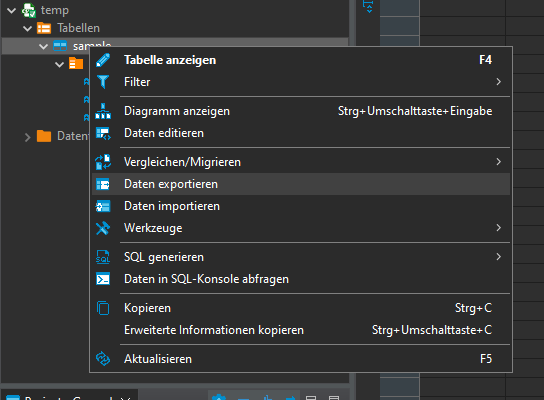
Open Database connection -> database -> schema -> Rightclick -> Data import:
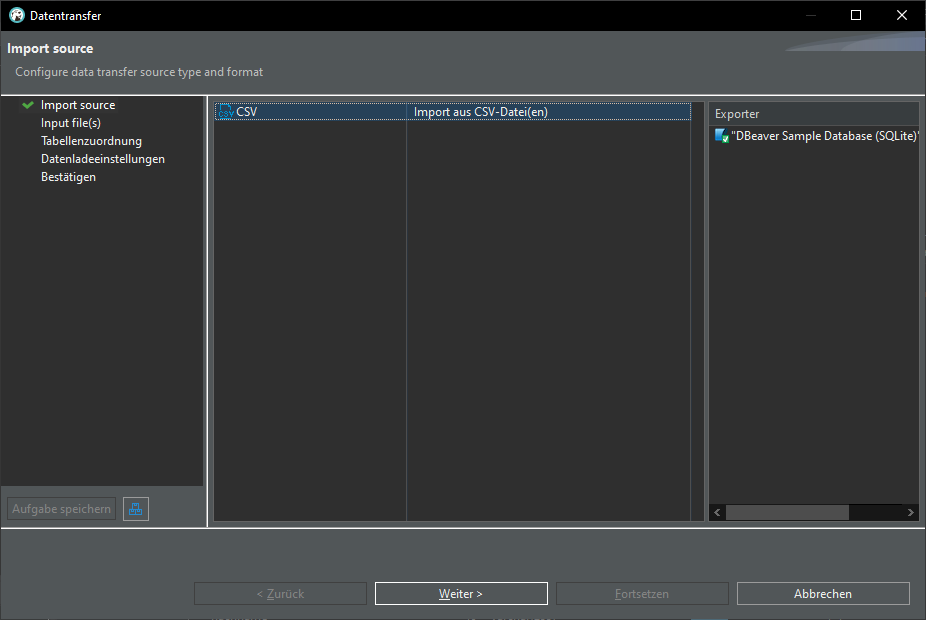
Import from CSV:
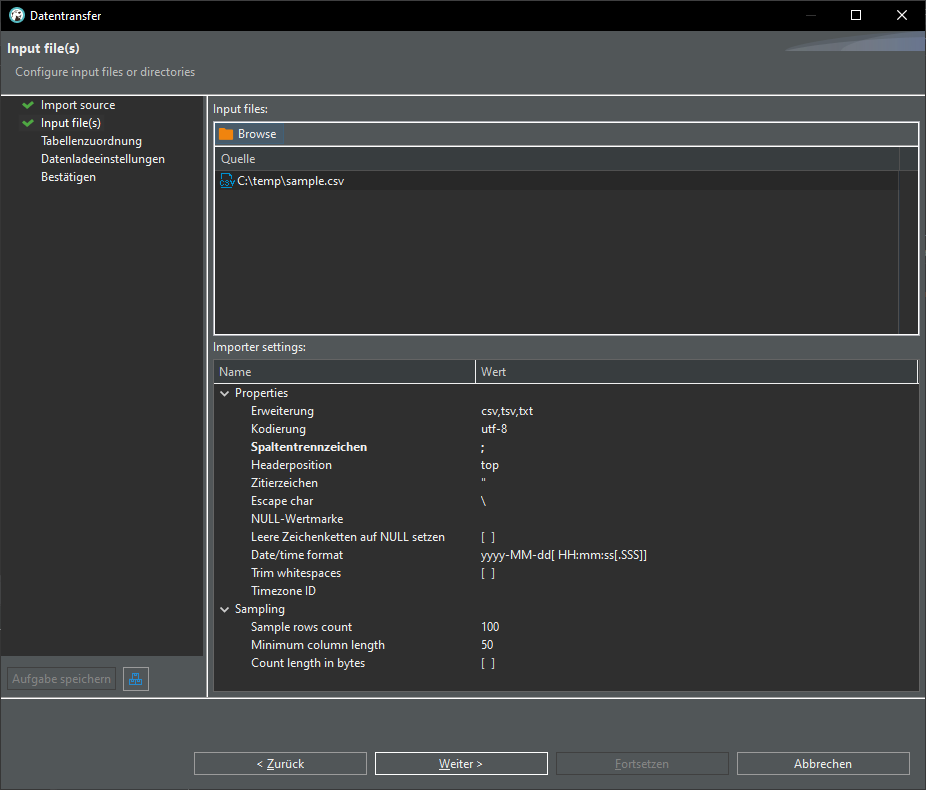
Change delimiter (Spaltentrennzeichen) from , to ;
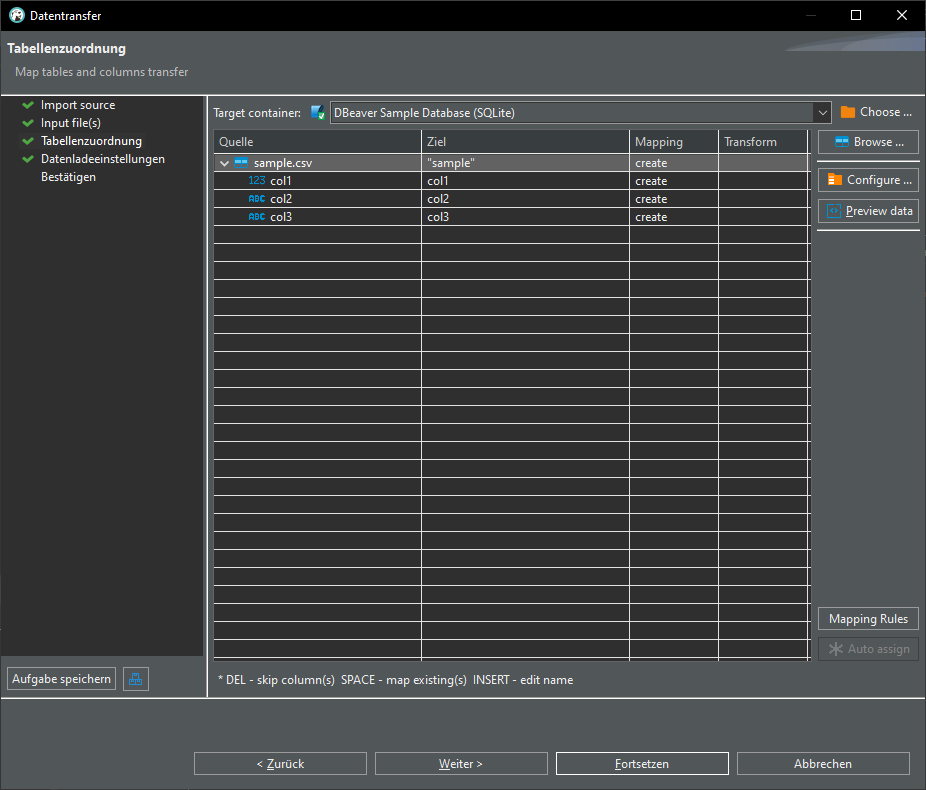
click "Auto assign", change target to "sample"
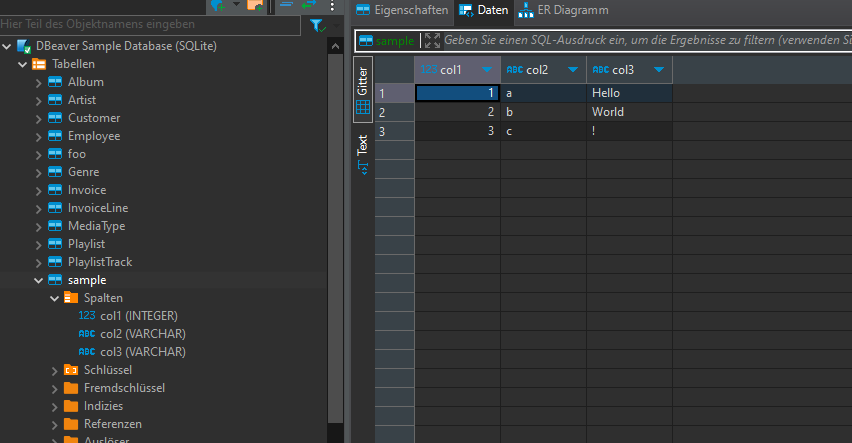
TADA! We have a new table "sample" in our database:
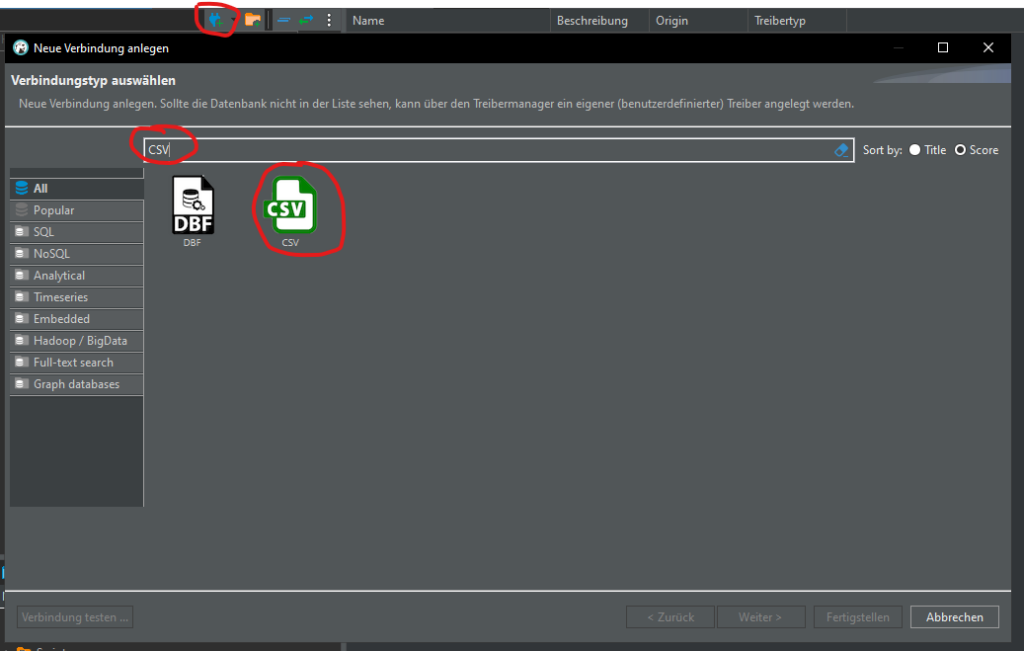
Create CSV connection
Let's try another way. Delete table "sample" and create a connection to the CSV file:
Click Browse… and select the folder where your csv file is that you saved from Excel. You’re selecting a folder here, not a file. The connection will load ALL csv files in that folder. Click Finish.
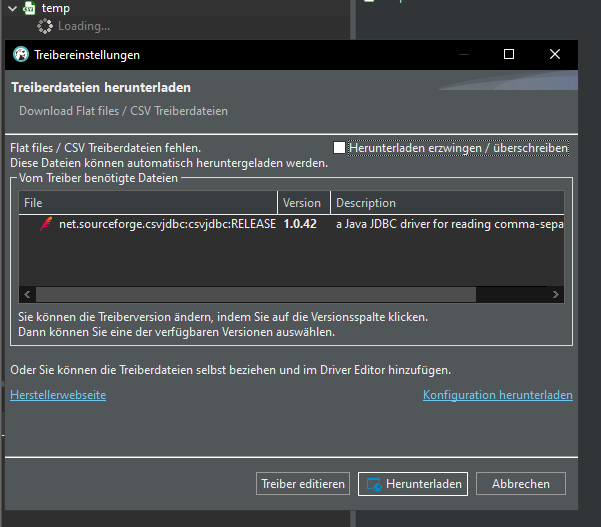
Download the driver, if using for the very first time:
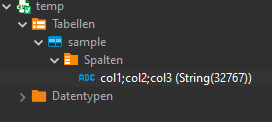
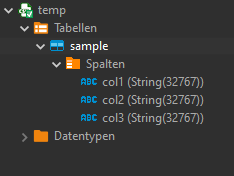
You will now see a new connection; this connection is set up exactly like a regular connection. Each csv file in your folder will be set up as a table with columns.
But there is a problem with the columns, it's just one, not three:
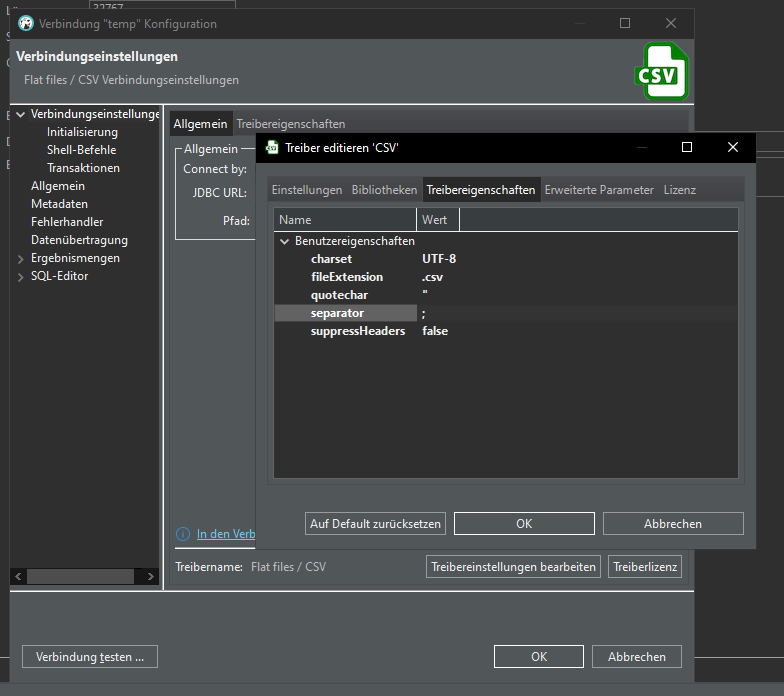
Doublecheck delimiter, but it is already set to ;
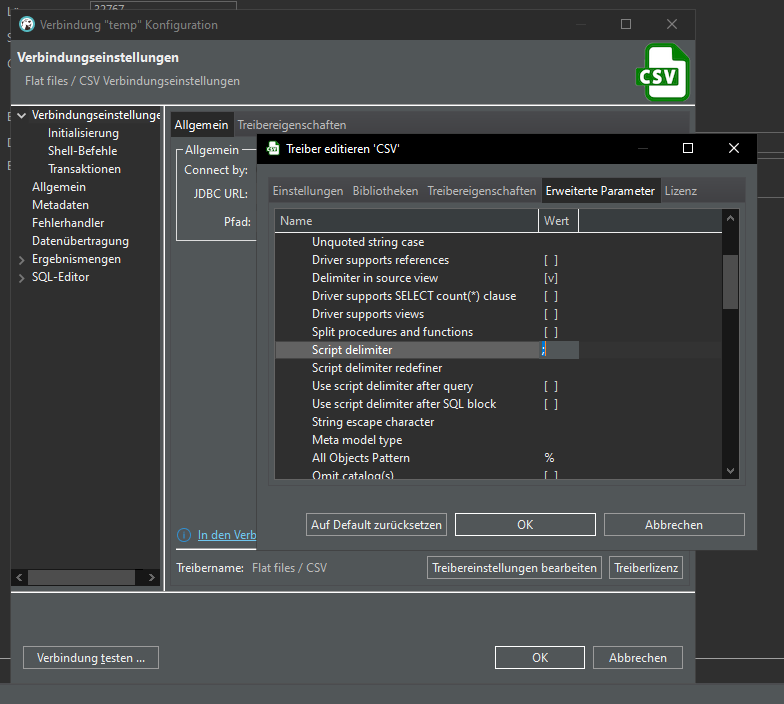
Ah, in driver details we have to set the separator from , to ;
Looks better now:
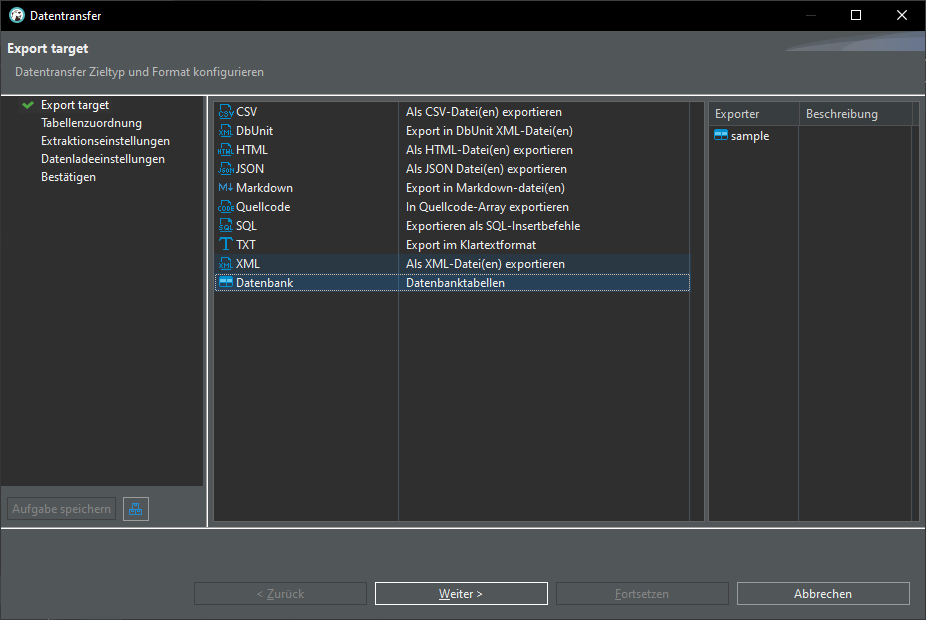
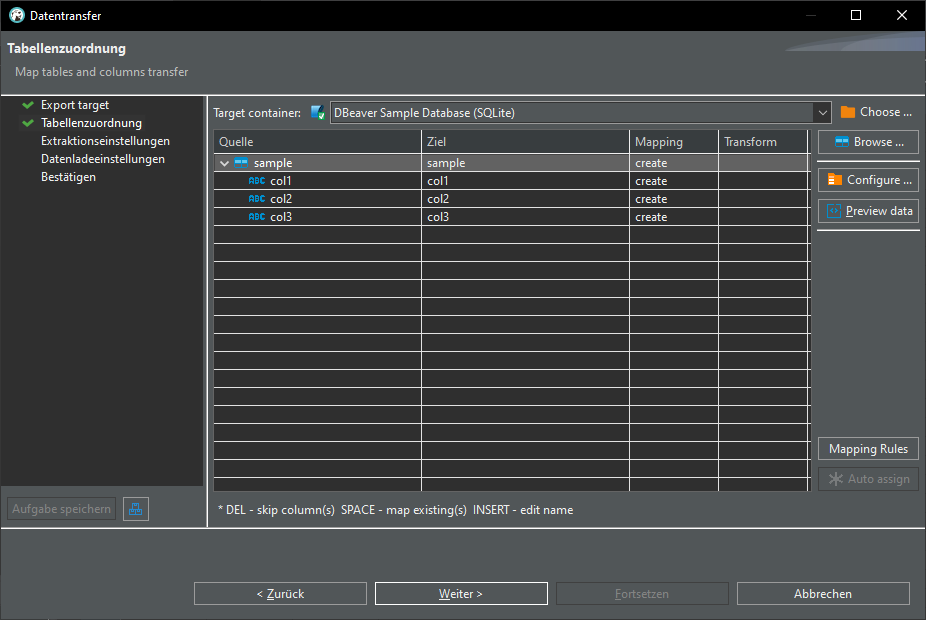
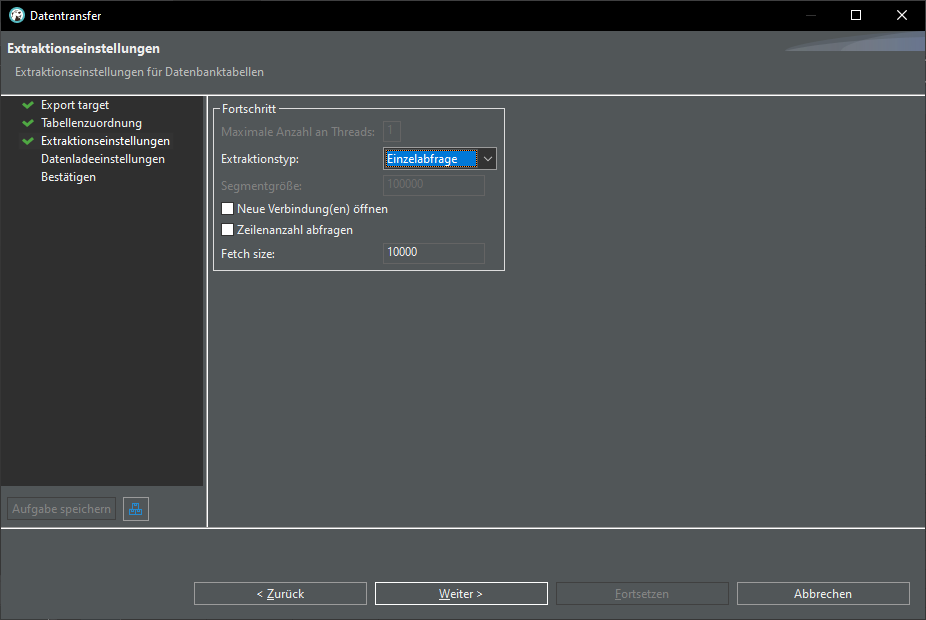
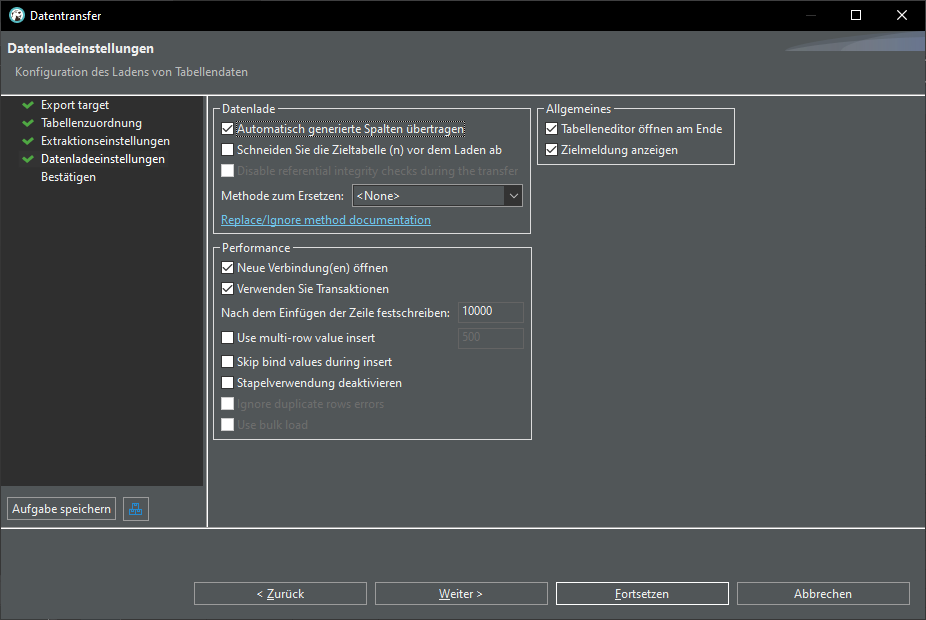
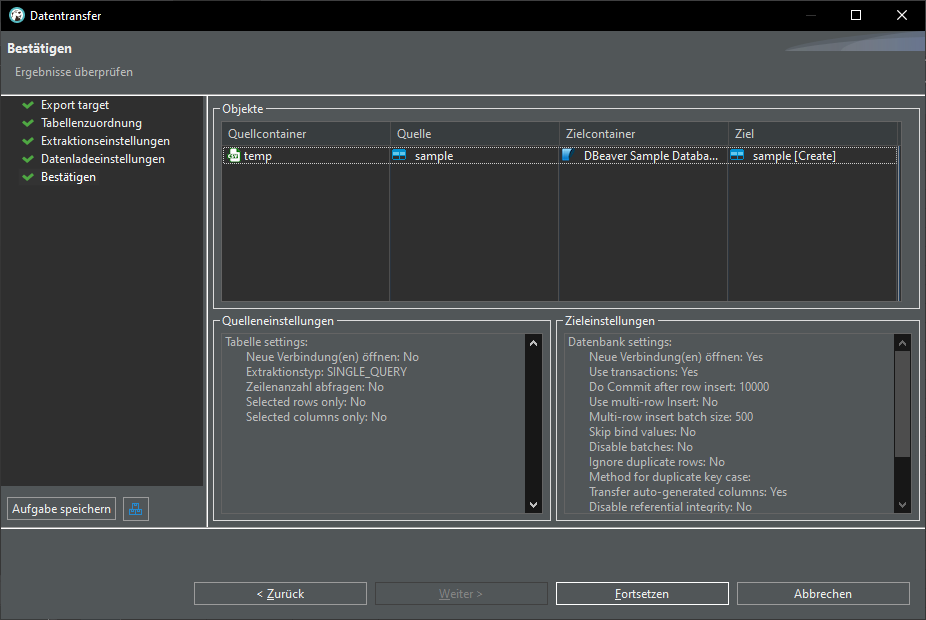
Export CSV data into database:
Once again we have our sample table in our database: