I want to try PrivateGPT to chat with my documents privatly.
As always I put the files in a GitHub repository.
OpenAI
To start with an easier example, I will use PrivateGPT with OpenAI/ChatGPT as AI. Of course therefore the chat will not be private, what is the main reason to use PrivateGPT, but it is a good start to bring things up and running and in a next step add a local AI.
OpenAI API key
To use ChatGPT we need an OpenAI API key.
The key itself is free, but I needed to charge my account with 5$ to get it working.
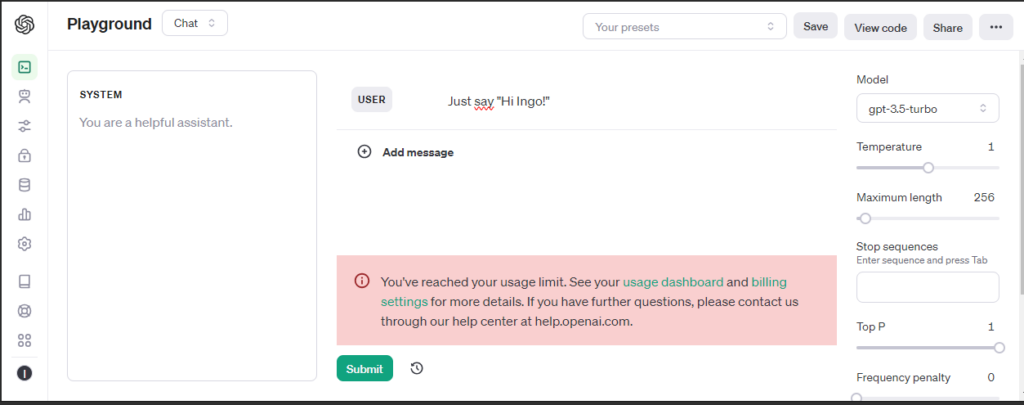
For testing a Playground is available.
Before funding my account:
After funding my account with the minimum of 5$:
Docker
The OpenAI API key is stored in a file .env, that provides its content to docker compose as environment variables.
In docker-compose we set the API key and profile: openai as environment for our Docker container:
    environment:
      - PGPT_PROFILES=openai
      - OPENAI_API_KEY=${OPENAI_API_KEY}
In Docker image we configure installation for openai:
RUN poetry install --extras "ui llms-openai vector-stores-qdrant embeddings-openai"
PrivateGPT will download Language Model files during its setup, so we provide a mounted volume for this model files and execute the setup at the start of the container and not at image build:
volumes:
	- ../models/cache:/app/privateGPT/models/cache
command: /bin/bash -c "poetry run python scripts/setup && make run"
Here are the complete files, you can also find them on my GitHub:
# Use the specified Python base image
FROM python:3.11-slim

# Set the working directory in the container
WORKDIR /app

# Install necessary packages
RUN apt-get update && apt-get install -y \
    git \
    build-essential

# Clone the private repository
RUN git clone https://github.com/imartinez/privateGPT

WORKDIR /app/privateGPT

# Install poetry
RUN pip install poetry

# Lock and install dependencies using poetry
RUN poetry lock
RUN poetry install --extras "ui llms-openai vector-stores-qdrant embeddings-openai"
version: '3'
services:
privategpt:
image: privategptopenai
container_name: privategptopenai
ports:
- "8001:8001"
volumes:
- privategpt:/app
- ../models/cache:/app/privateGPT/models/cache
environment:
- PGPT_PROFILES=openai
- OPENAI_API_KEY=${OPENAI_API_KEY}
command: /bin/bash -c "poetry run python scripts/setup && make run"
volumes:
privategpt:OPENAI_API_KEY=YOUR_SECRET_OPENAI_API_KEY
Now we can build the image, start the container and watch the logs:
docker build -t privategptopenai .
docker-compose up -d
docker logs --follow privategptopenai
Private GPT
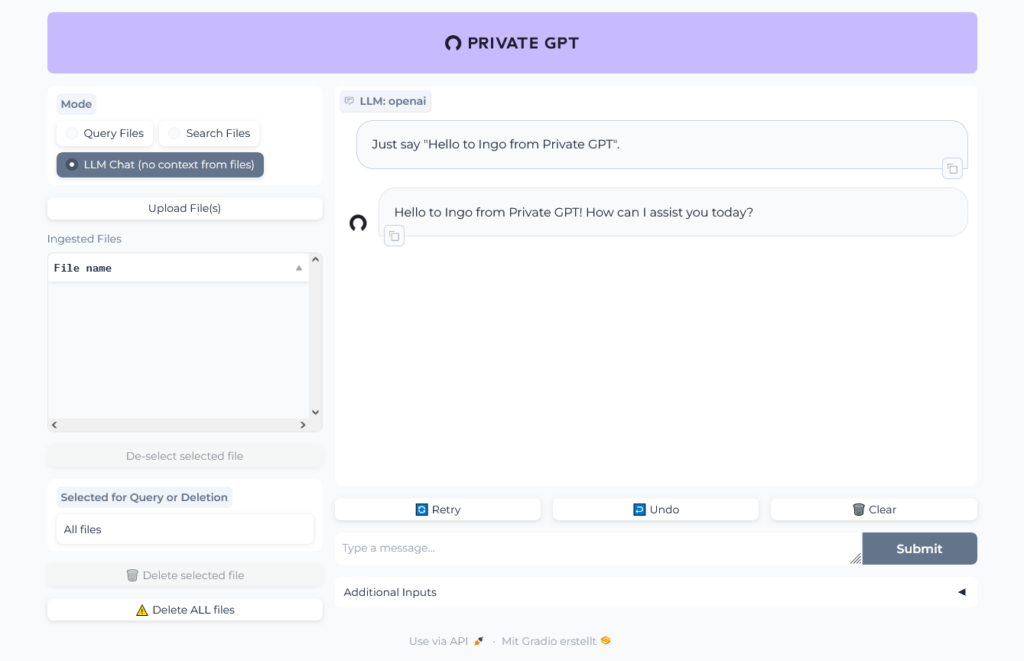
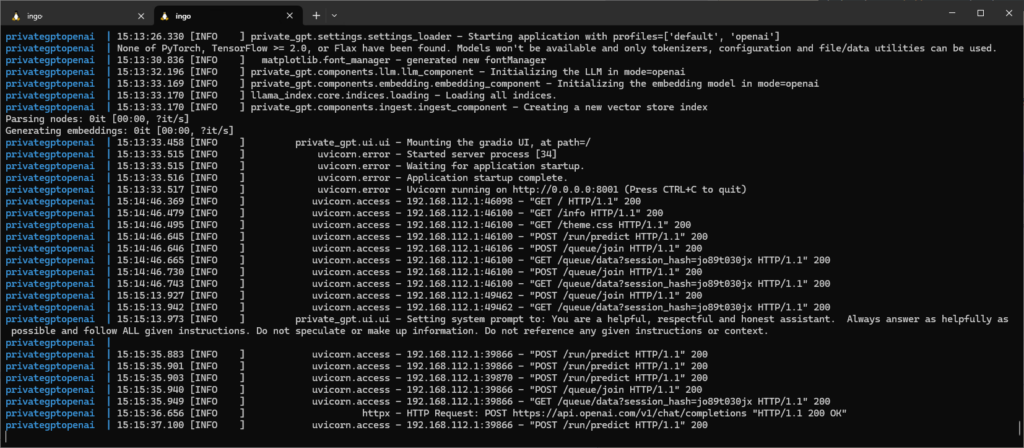
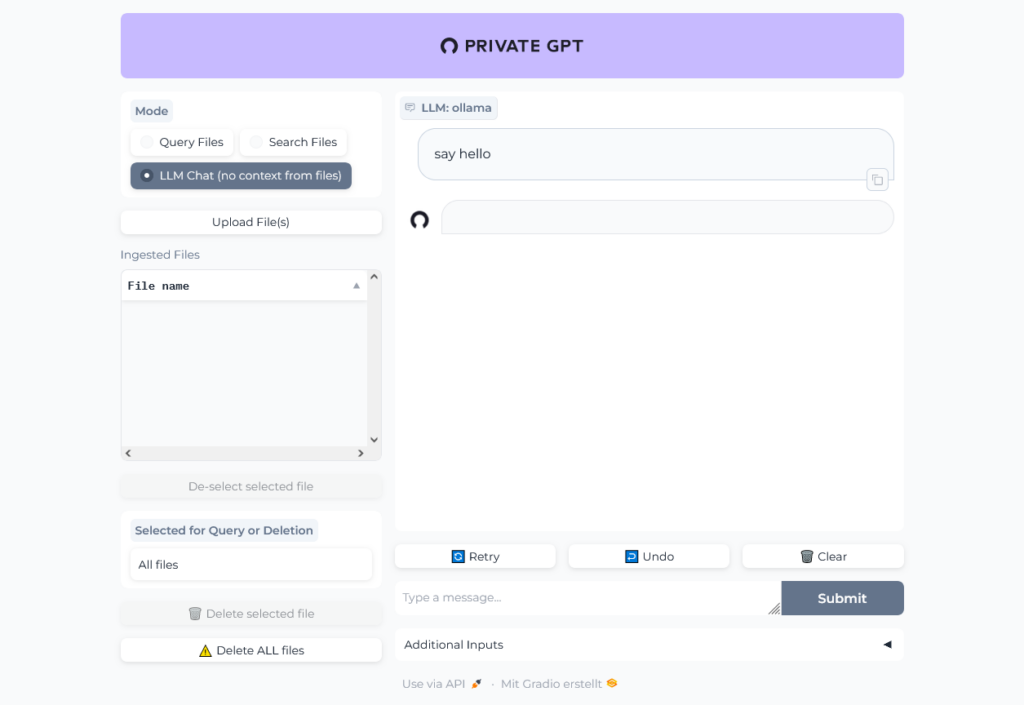
Open http://localhost:8001 in your browser to open Private GPT and run a simple test:
Have a look at the logs to see that there is communication with OpenAI servers:
Chat with document
To "chat" with a document we first need a public available one, because right now we are using ChatGPT where we must not upload internal project documents.
So first ask PrivateGPT/ChatGPT to help us to find a document:
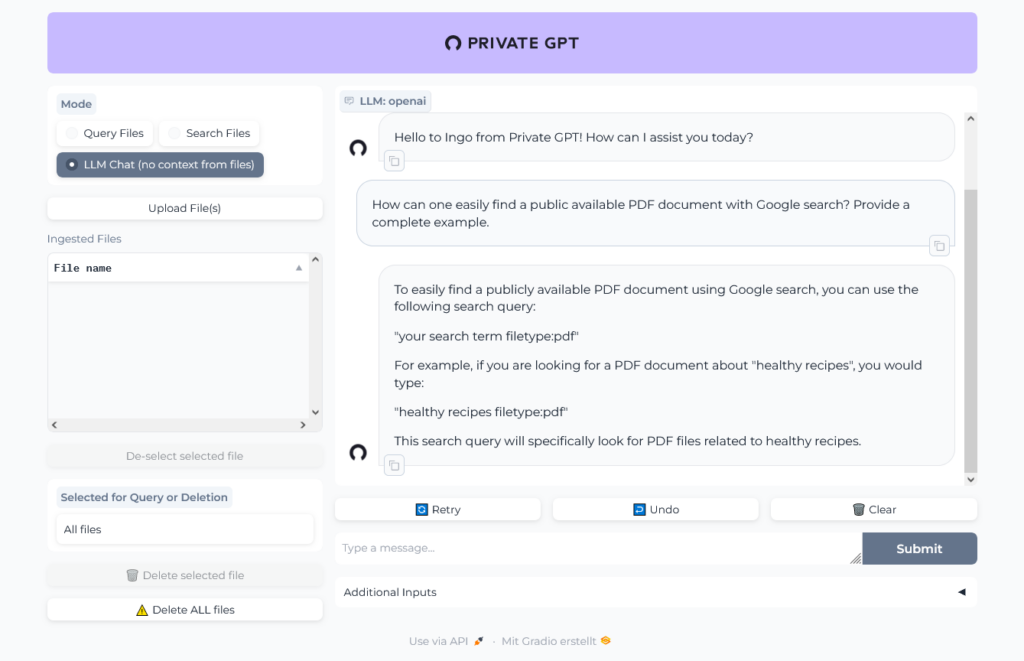
Working fine, we could easily find and download a PDF:

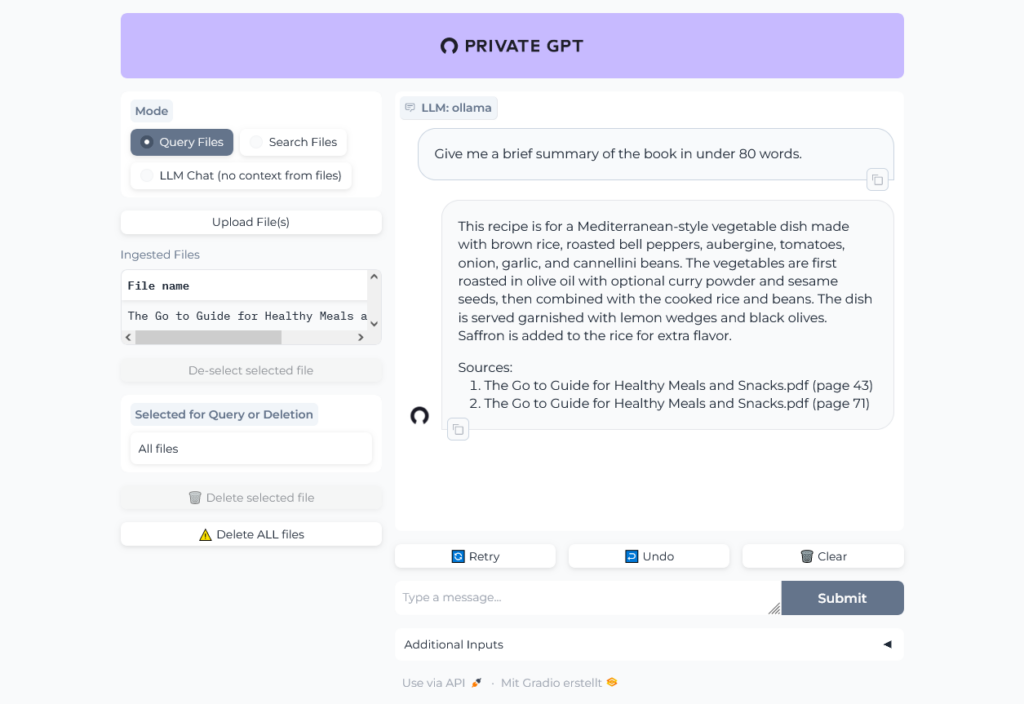
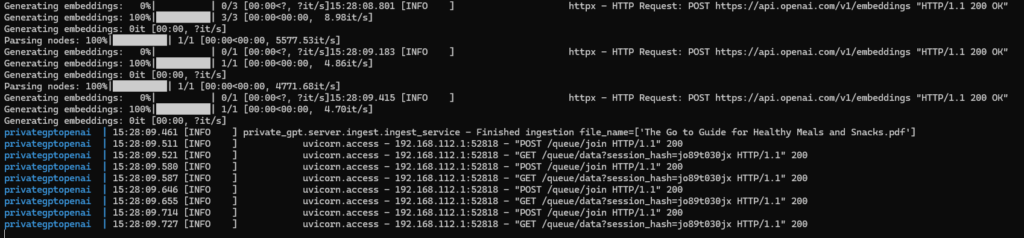
The upload of the PDF (The Go to Guide for Healthy Meals and Snacks.pdf) with 160 pages in 24 MB into PrivateGPT took nearly two minutes.
In the logs we can see, that the file was uploaded to ChatGPT:
Let's chat with the book:
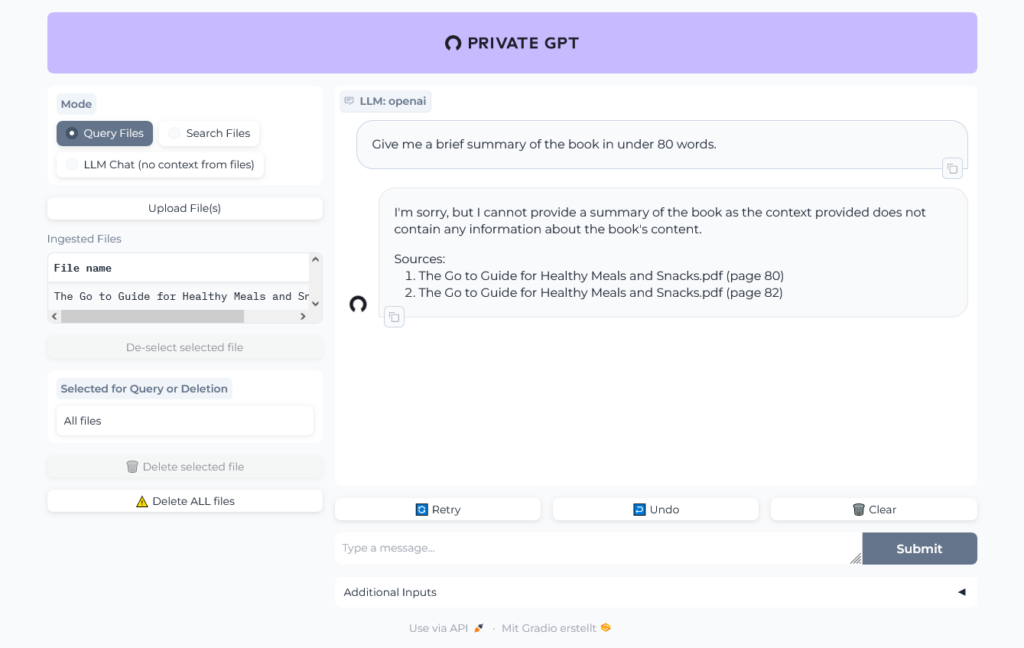
Uh, was that question too hard? Give it another try:

OK, sounds better.
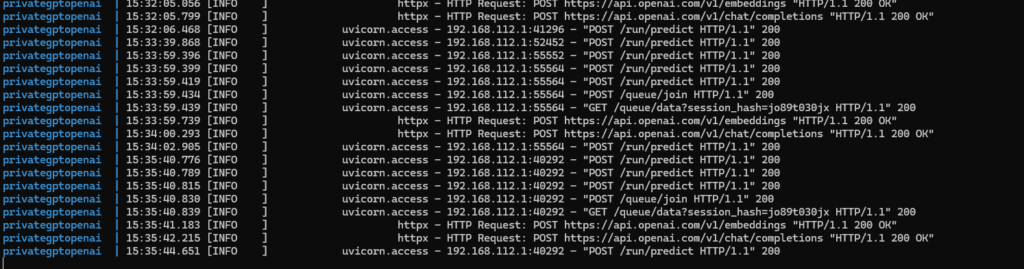
In the logs we can see the traffic to OpenAI:
Local, Ollama-powered setup
Now we want to go private, baby.
Copy configuration to a new folder, can be found in GitHub.
In docker-compose we change the profile to ollama:
    environment:
      - PGPT_PROFILES=ollama
In Docker image we configure installation for ollama:
RUN poetry install --extras "ui llms-ollama embeddings-ollama vector-stores-qdrant"
As before we can build the image, start the container and watch the logs:
docker build -t privategptollama .
docker-compose up -d
docker logs --follow privategptollama
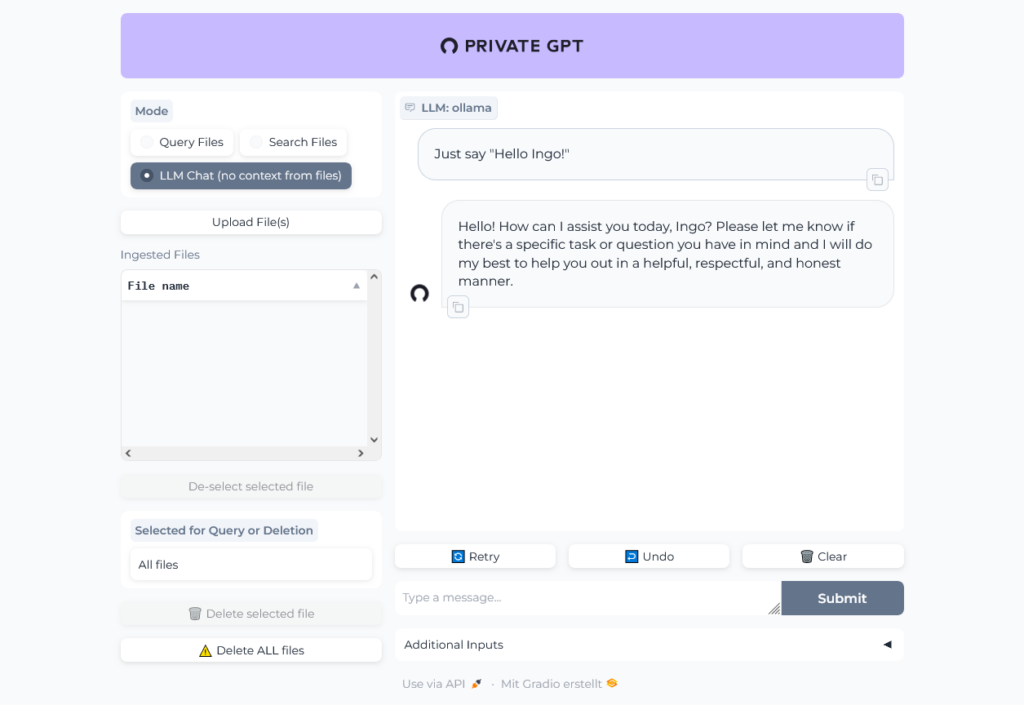
Open http://localhost:8001 in your browser to open Private GPT and run a simple test:
PrivateGPT is running, but we receive no answer to our question.
Not really surprising, because we have to install and start Ollama first.
Installation of Ollama is written in next Post.
Test Ollama reachable from PrivateGPT:
docker exec -it privategptollama bash

curl 172.17.0.1:11434
Ollama is running

curl 172.29.184.58:11434
Ollama is running
We will make this configurable within environment variables, add:
sed -i 's@llm_model: mistral@llm_model: ${OLLAMA_LLM_MODEL:mistral}@g' settings-ollama.yaml
sed -i 's@api_base: http://localhost:11434@api_base: ${OLLAMA_API_BASE:http\://172.17.0.1\:11434}@g' settings-ollama.yaml
environment:
- OLLAMA_LLM_MODEL=mistral
- OLLAMA_API_BASE=${DOCKER_GATEWAY_HOST}:11434Re-Build, set DOCKER_GATEWAY_HOST and start PrivateGPT:
docker build -t privategptollama .

export DOCKER_GATEWAY_HOST="`/sbin/ip route|awk '/dev eth0 proto kernel/ { print  $9}'`"
docker-compose up -d

# watch logs:
docker logs --follow privategptollama
Finally working 🥳
The chat is working:

File upload and query file is working:
I did not use the large ~24MB file I tried with ChatGPT, but a much smaller one ~297 KB I randomly found in the internet. It is written in german, but it seems, like Ollama understands german.
Well, then I tried the 24 MB file and ... it worked pretty well, the result of the first question was even better than the result from ChatGPT!